EVS Installation
It can take as little as 10 minutes to install a EVS Glazing panel, compared to over three hours to retro glaze a traditional double glazing panel

It can take as little as 10 minutes to install a EVS Glazing panel, compared to over three hours to retro glaze a traditional double glazing panel
Traditional Retro glazing requires a high level of skill, specialised tools, takes a lot of time, and can leave a lot of damage especially to fragile lead lights, timberwork, and paint. EVS panels can take 10-20 minutes to install, but preparing the window may take longer. Most of the time is spent on cleaning and preparing the paintwork around the existing window. Blistering off paint and areas of cracked putty and pockets of rot can all be repaired and be well presented before installing the EVS panels over the top.
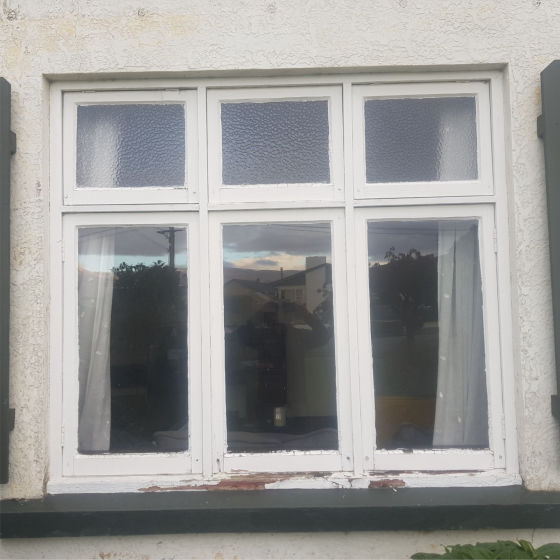
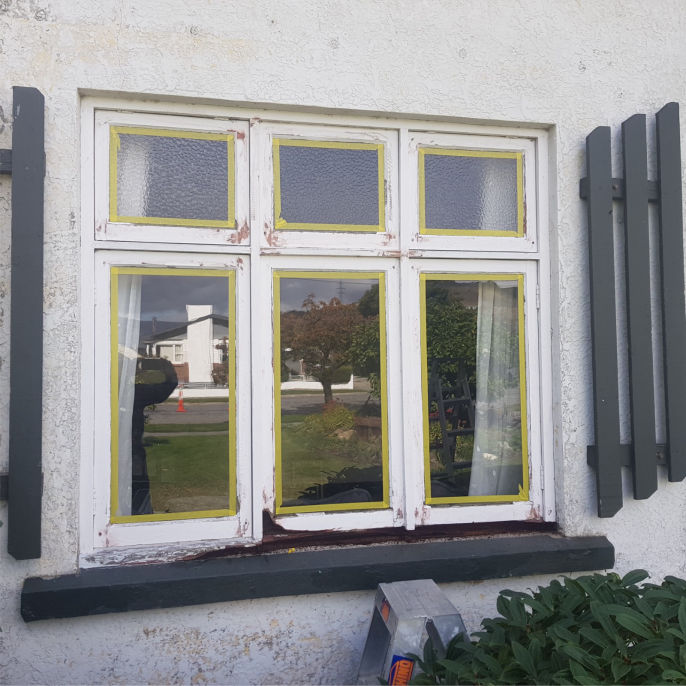
Some people would think that old windows with putty falling out, a bit of rot and paint flaking off is the end of the road for old character windows, and it would be better to replace them with new aluminum windows. Before you go down that path, think of the pros and cons of installing replacement aluminum over restoring your existing timber frames with EVS.
The advantage of aluminum or PVC window replacement is that they don’t need painted and they won’t rot, the disadvantage is the extra cost and the loss of character, which could devalue your home.
The advantage of keeping your timber windows getting better insulation performance, maintaining your homes character, getting extra weather protection, and spending a lot less money. DIY improvements to your windows can provide you with a professional results while saving you even more cost.

The EVS Step–by-Step guide, how to refurbish old timber windows back to new. Fast, simple and affordable!
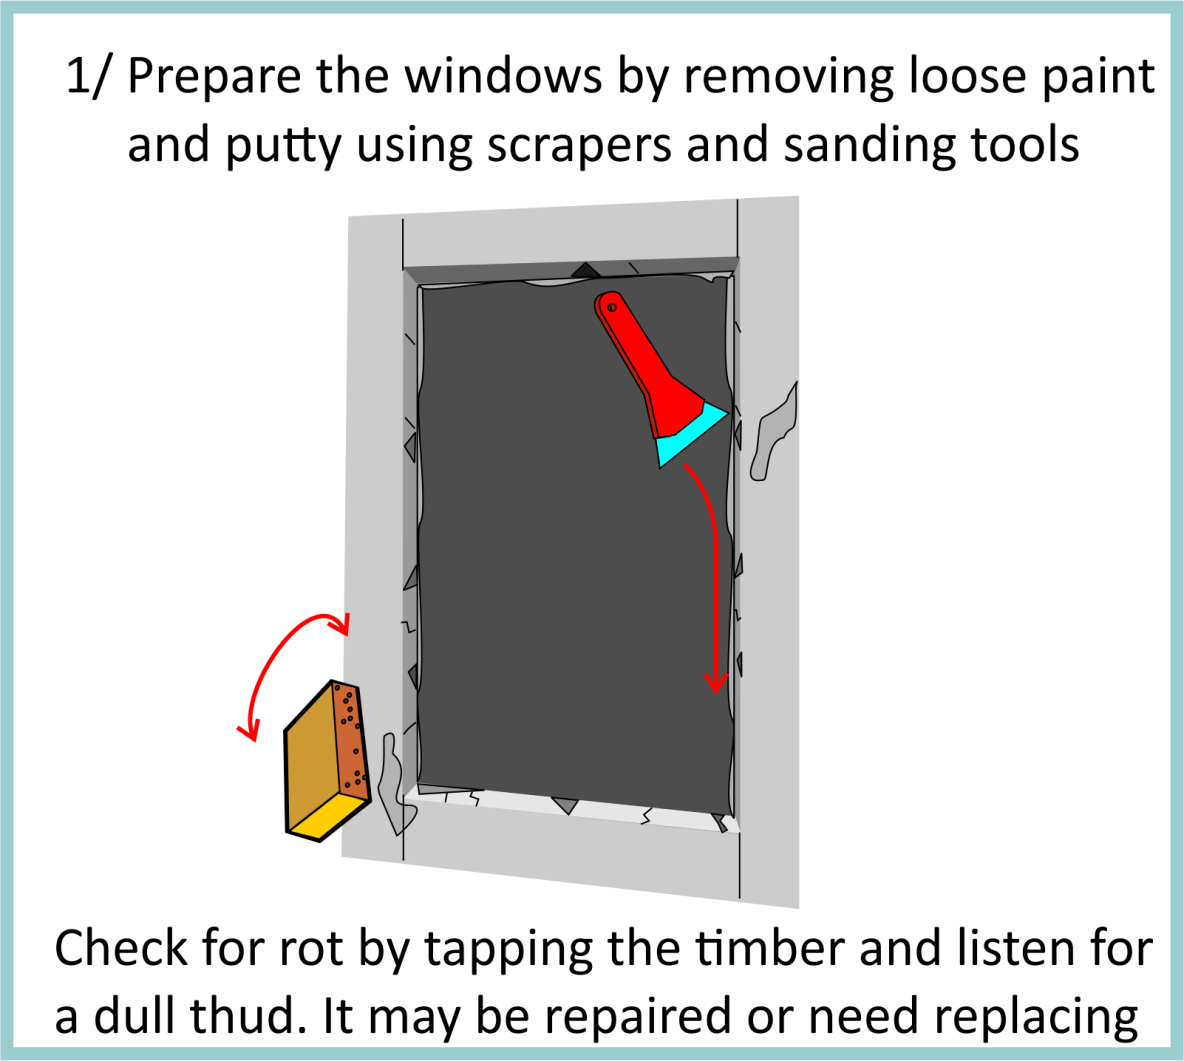
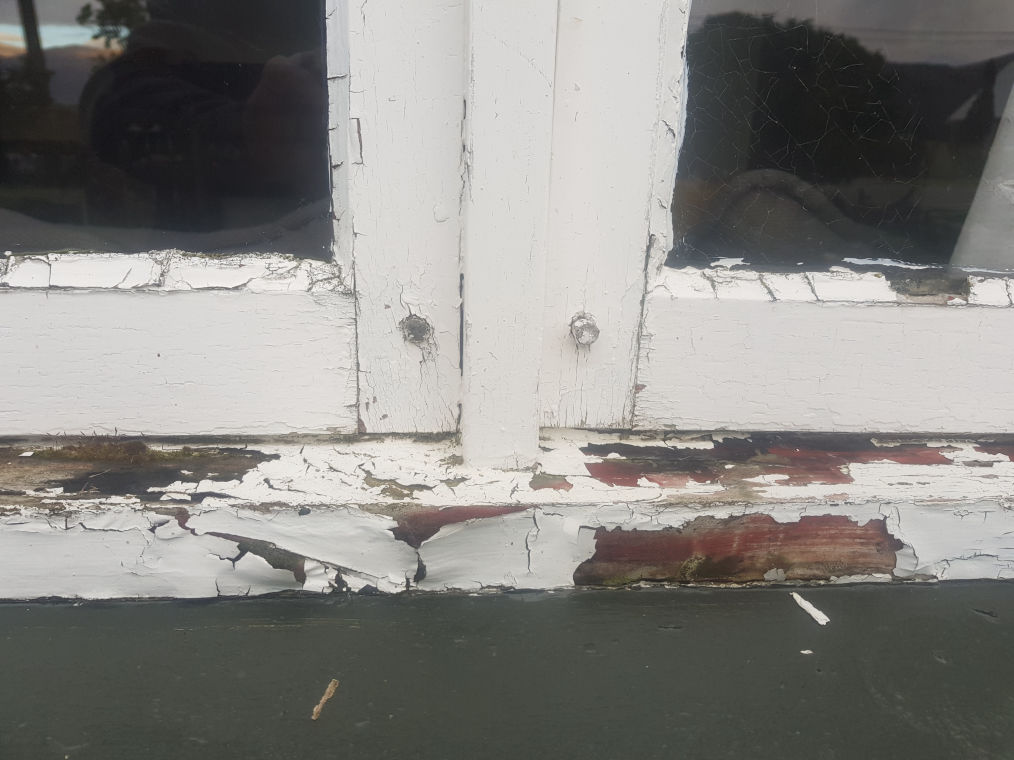
Inspect your windows to determine how much rot requires attention. Flaking paint and putty falling out is simple to fix, but fixing rot requires more attention.
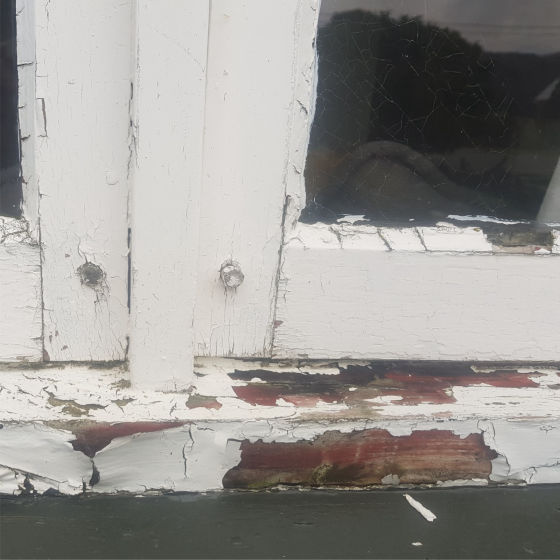
The tap test is a simple way to find rot by hitting the surface with your knuckle and if it’s a high pitch noise your timber is solid and low thud your timber has rot.
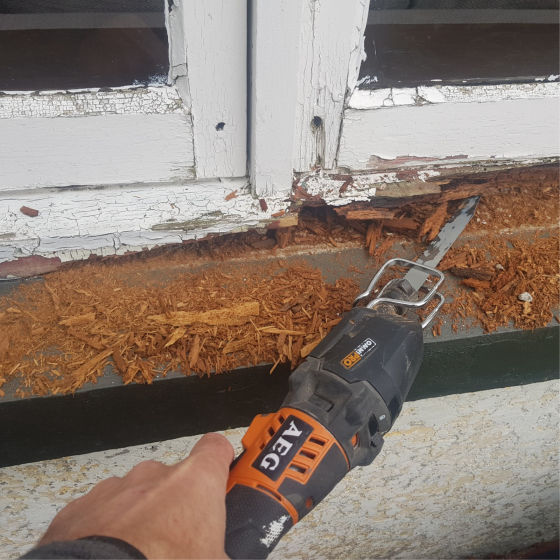
We recommend that you carve our rot rather than cut rot out. This technique is like being a dentist and inserting a filling, by drilling out the soft core and leaving the solid.
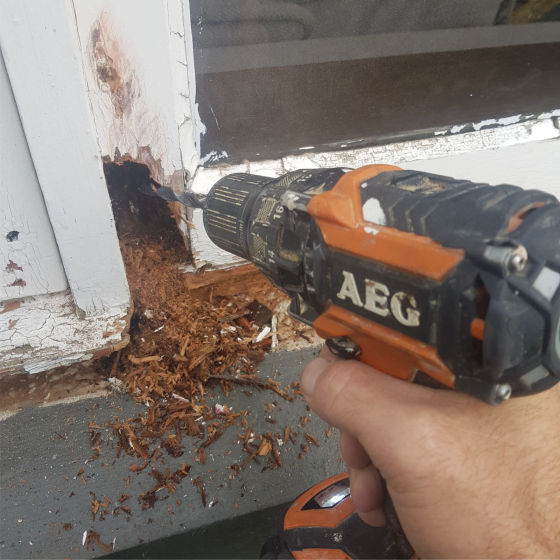
You can use a variety of tools from a drilling, cutting and grinding the rot out which leaves a very organic shape. Don’t cut square edges because they are more likely to crack later.
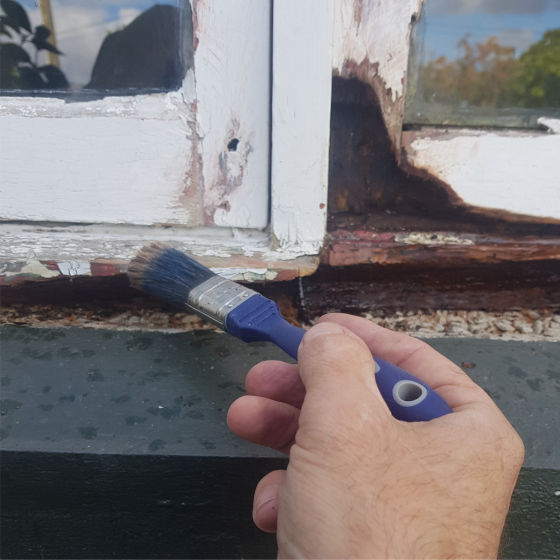
Paint the exposed timber with a rot treatment like Metalex or timber hardeners that penetrate into the remaining timber and prevent rot from spreading.
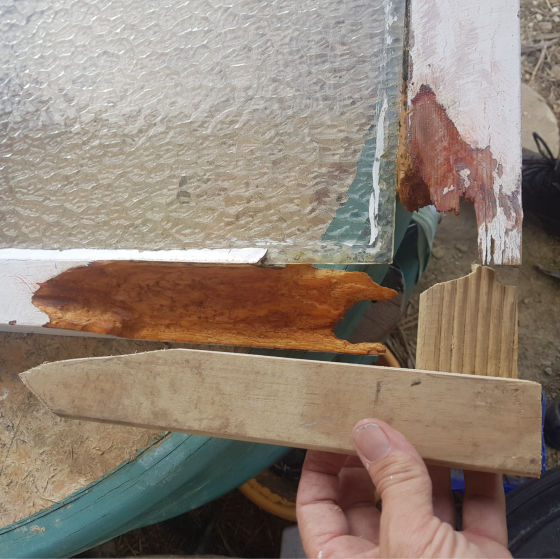
Use tantalized treated pine to make inserts to replace the rotten sections. (Timber decking is ideal) Cut and shape them to loosely fit back in the space. Add screws as spikes to key the bogg within the cavity.
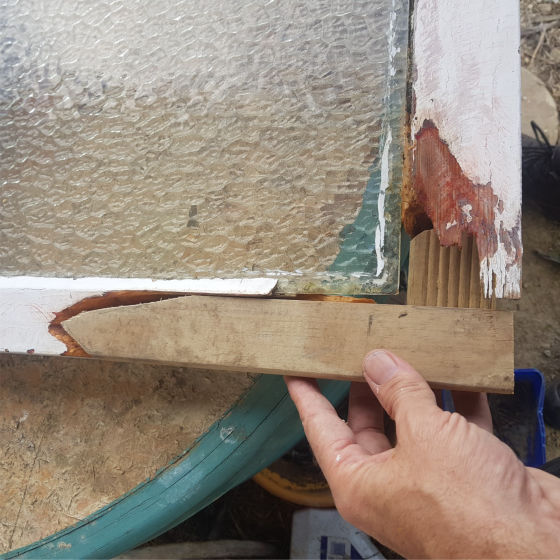
Make sure you have your external edges inline with the external faces of the frame, so you can have timber corners to finish against. Fill the gaps with builders bog, sand and paint.

Your EVS needs to fit against the face of your timber sashes and any obstacles need trimmed back to a smooth face. The old corner pegs work their way out over time so if they are fixed then cut them.
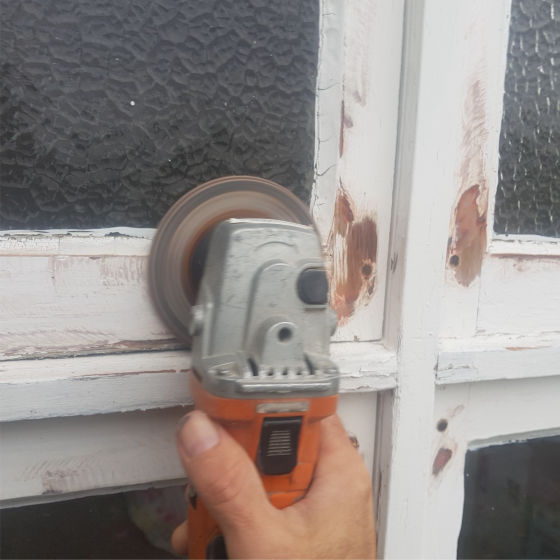
You can spend a lot of time sanding paint back, so using a grinder sanding disk takes a lot less time. The main thing is to get rid of lose paint and paint build-ups. The key to using a grinder is to keep it moving and not let it dig groves.
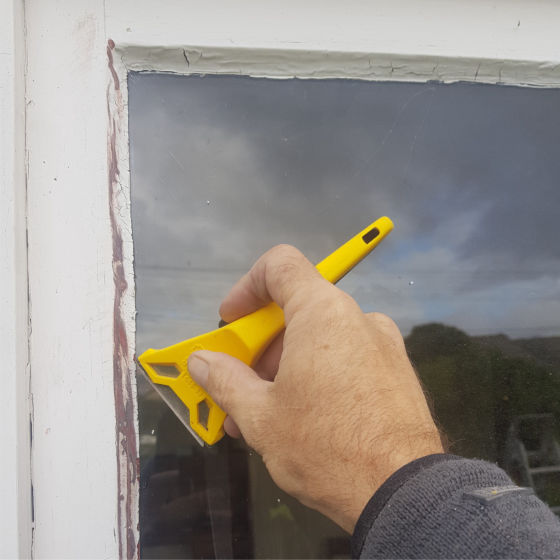
Most old windows have badly painted edges and scraping them back against the putty line is important to get a good finish that looks neat. Don’t worry about chipping or dislodging old putty, get rid of any lose putty as well.
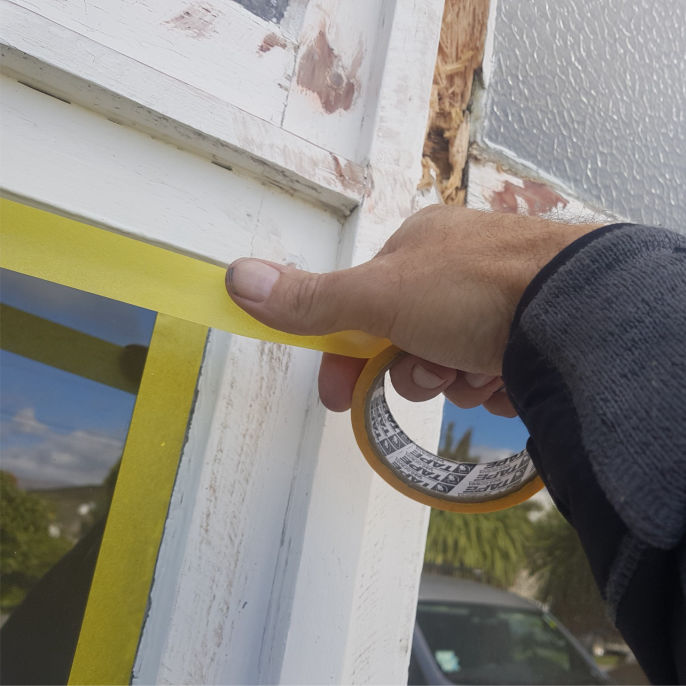
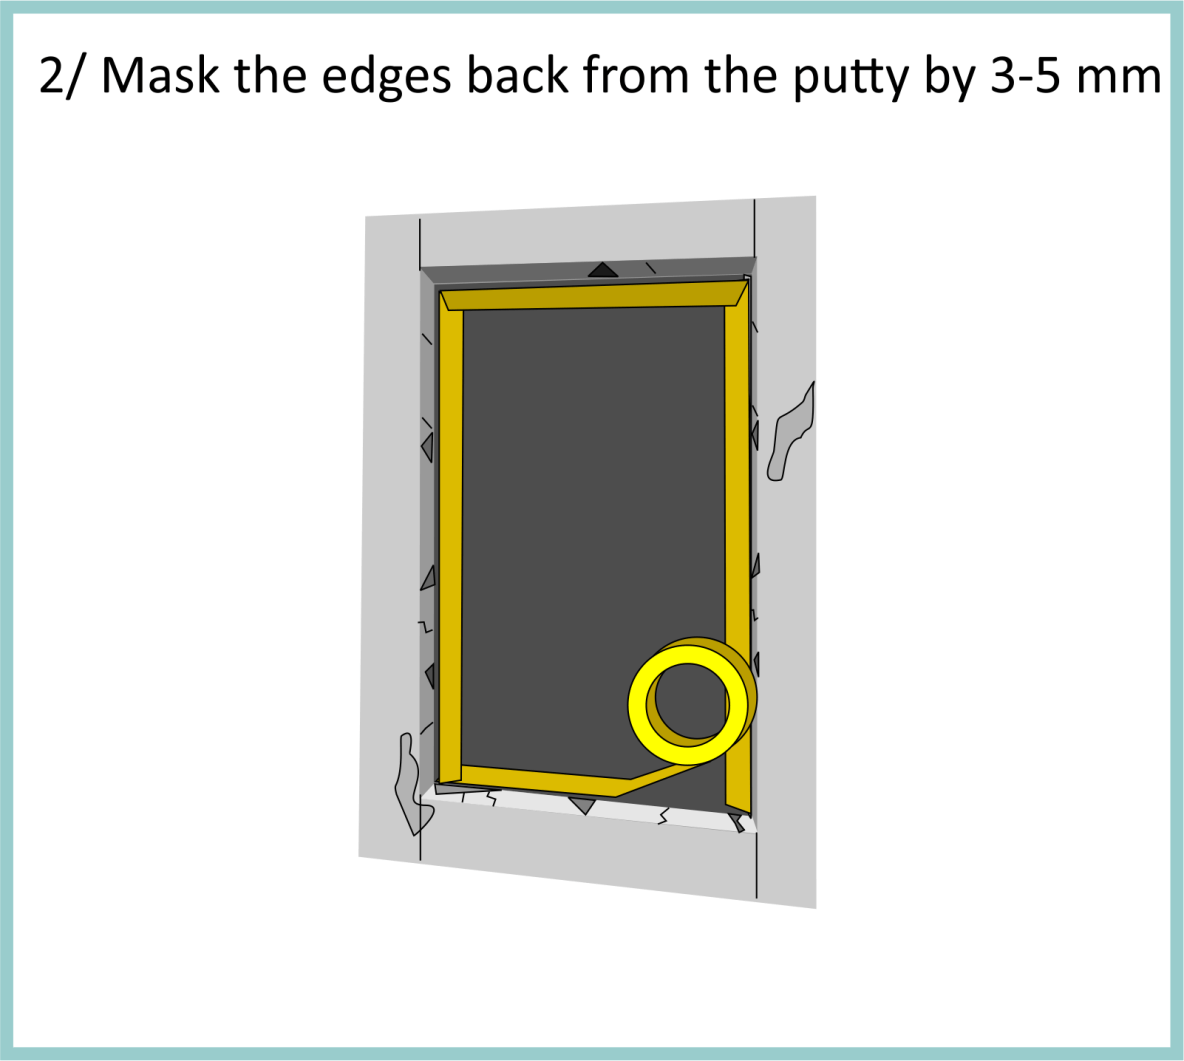
Mask your glass edges a small distance away from the putty line. This line is very visual so keep your lines as straight as you can

You can quickly mask your panels then came back and trim off the corners leaving a nice square corner cut,
Spend time to get all your masking done for the windows you are working with as you have clean fingers and getting the masking finished will minimize mess.
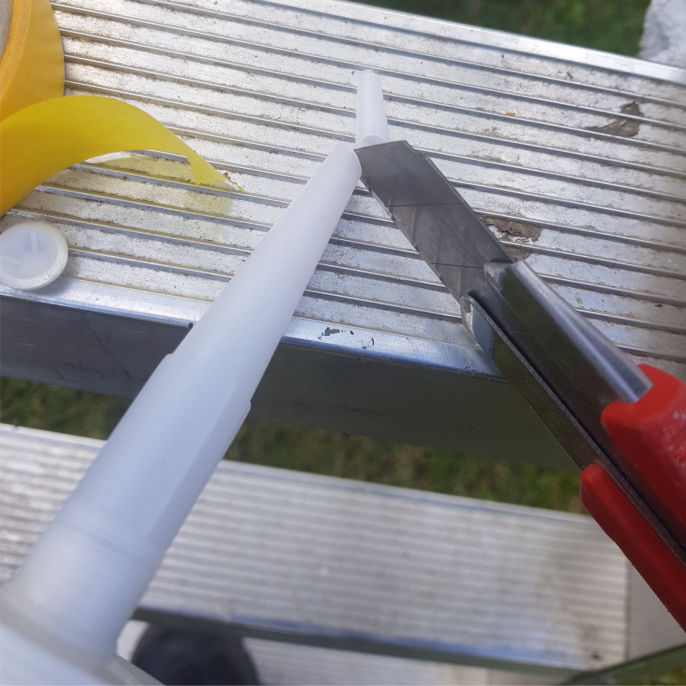
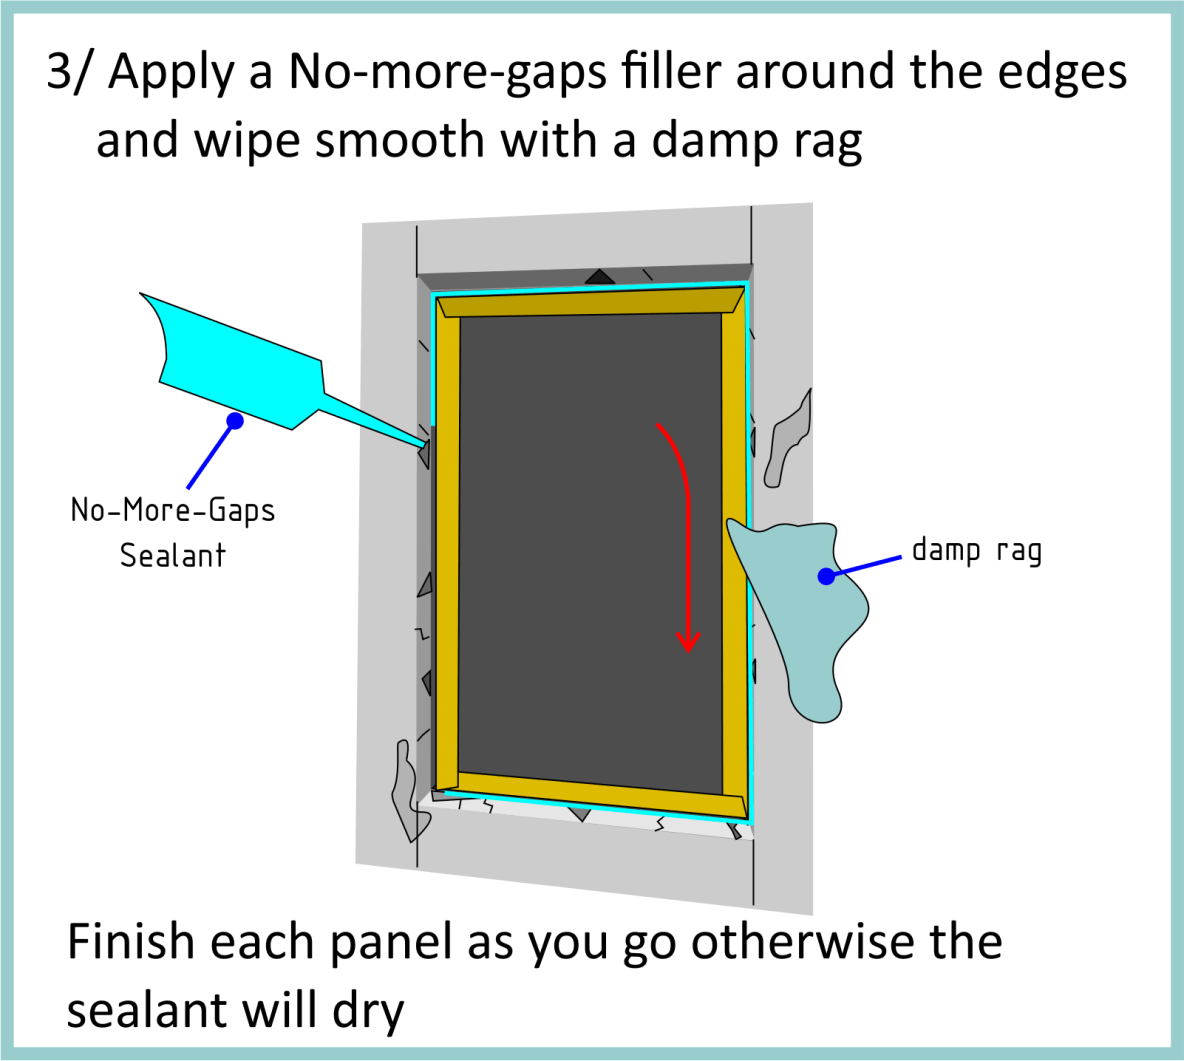
Couking guns come with fine nibs. This job requires a slightly larger opening to provide a good flow of silicon. It is recommend that you use a water based exterior filler like No-More-Gaps
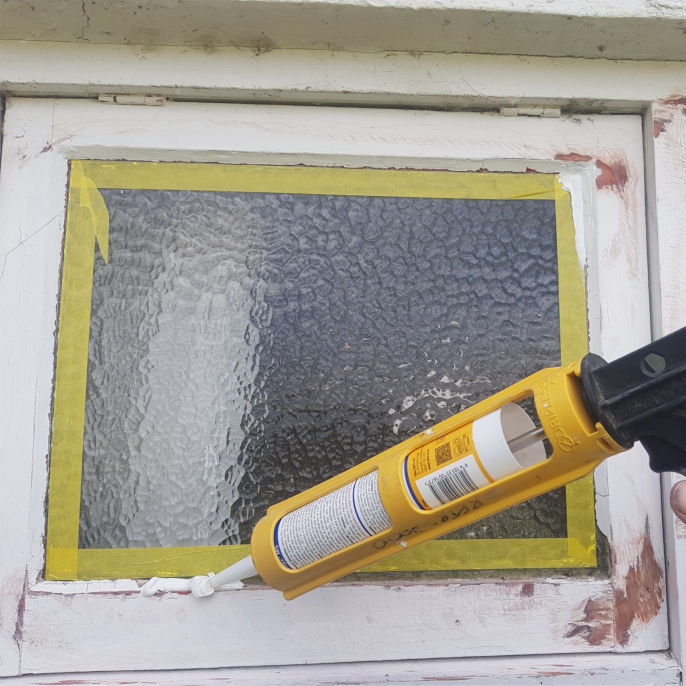
Couking the edges is a bit of a skill and you can make a big mess if not done correctly. Make sure you put a good amount where the putty has fallen out and a little amount around the other edges, to cover the putty.
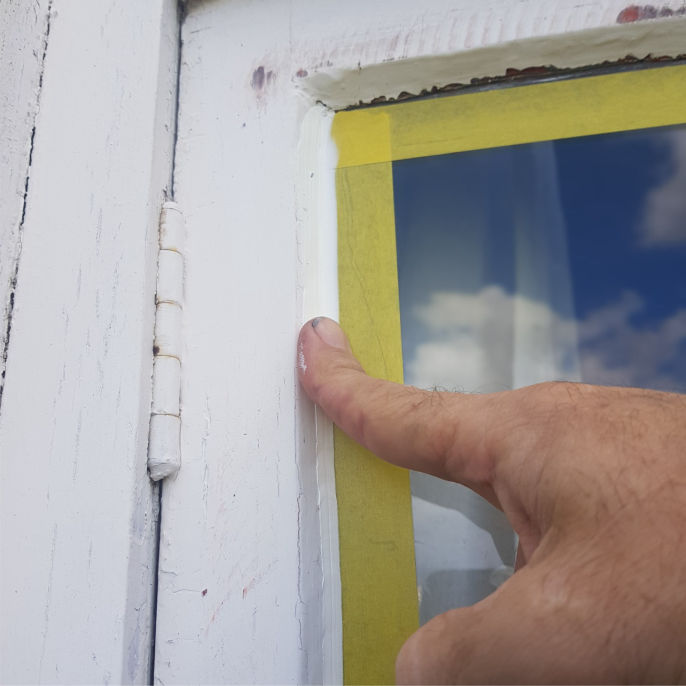
Smoothing the surface is best achieved applying a wet mist from a spray bottle over the cauking, then use a silicon corner scraper or your finger to glide over the surface to smooth the face. Try and complete the smoothing with a single stroke rather than using a short dabs to achieve a professional finish.
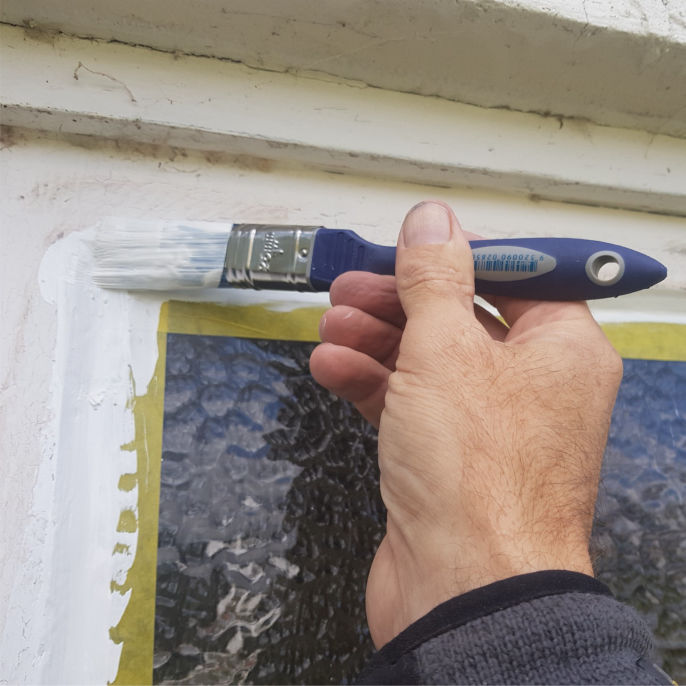
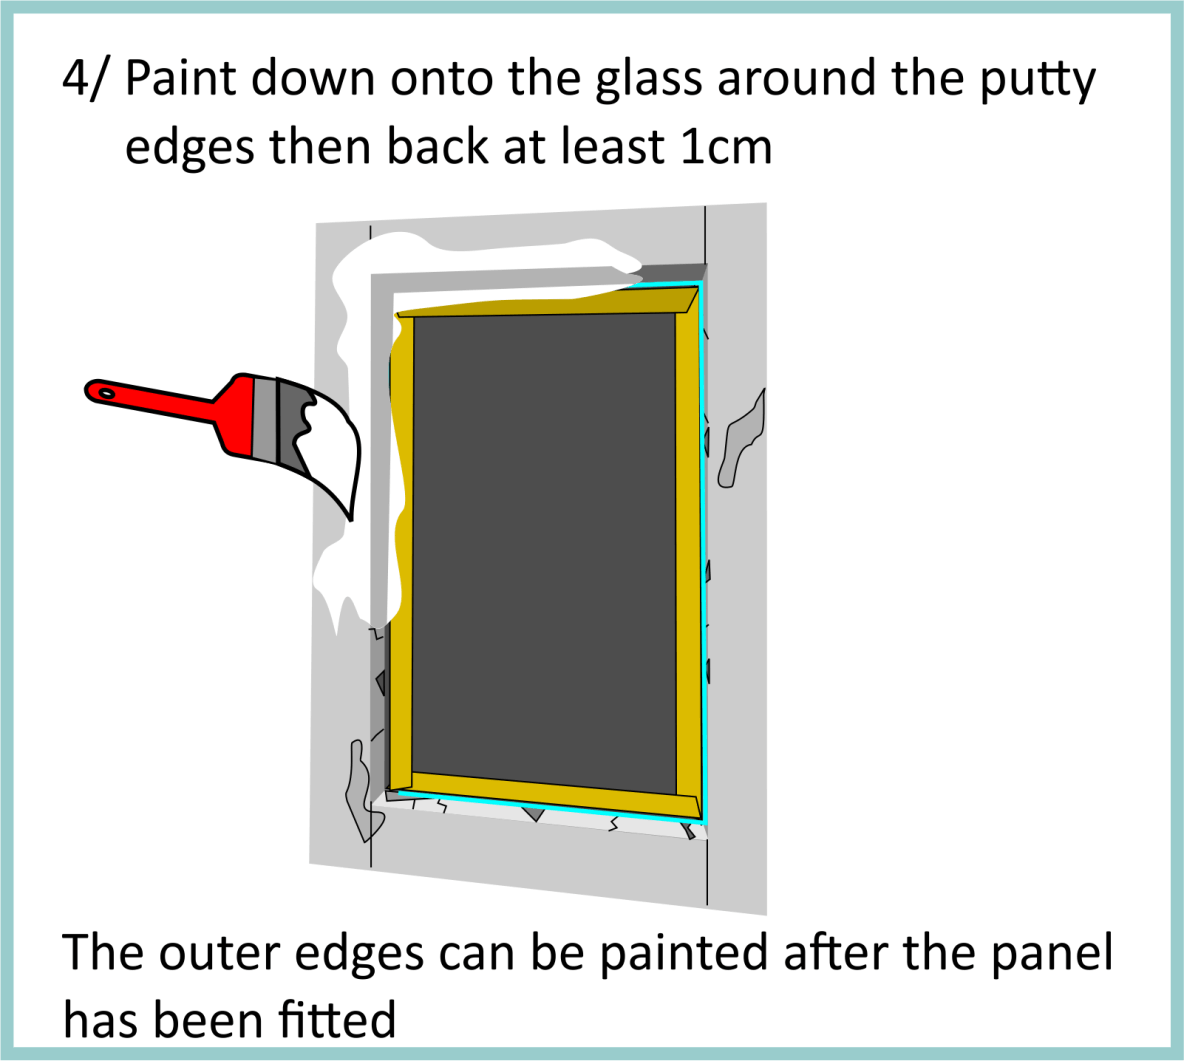
Speed is critical as you need to quickly paint straight over the fresh caulking, before you move to the next window. Use a water based exterior top coat with good UV resistance. You only need to paint the putty edge and 1 cm in from the putty edges, not the whole frame.
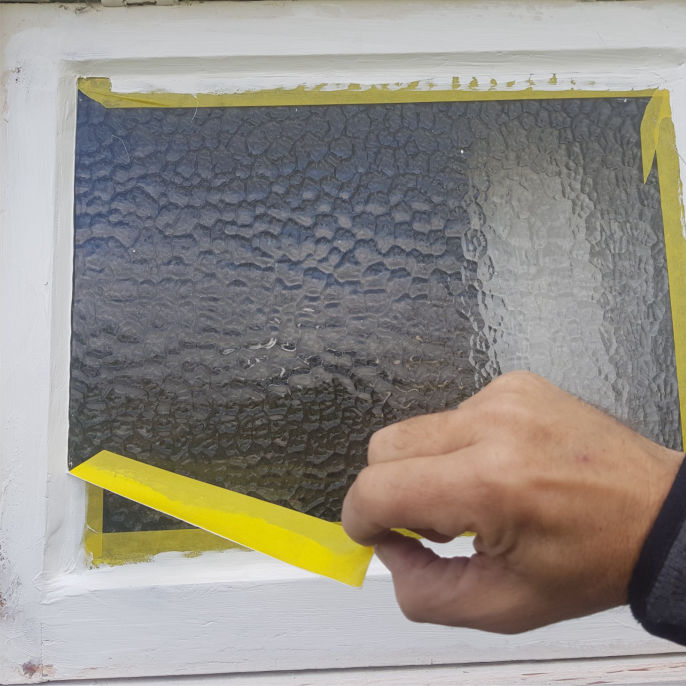
Removing masking has to be done straight away to produce a nice sharp line finish and avoid the silicon from making strands that spoil the edge. If you wait until the paint is dry you will need to cut the edge of the masking tape with a knife before you remove the tape.
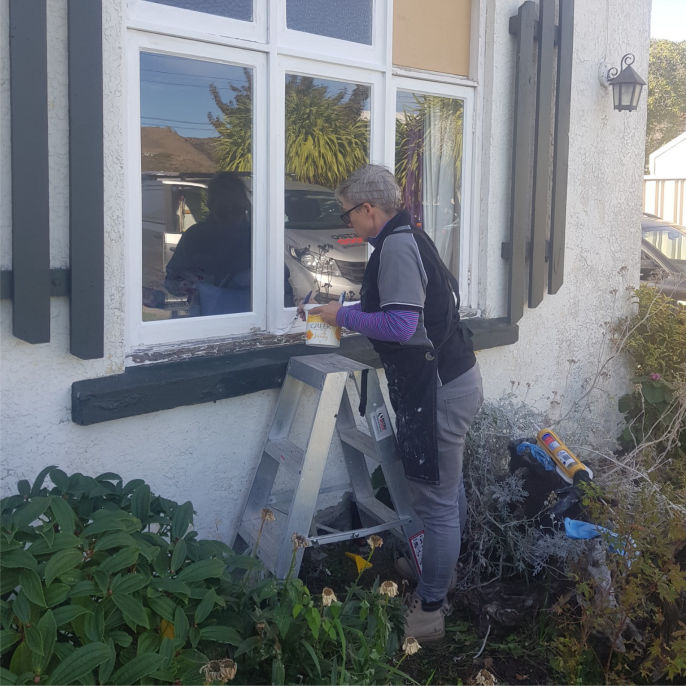
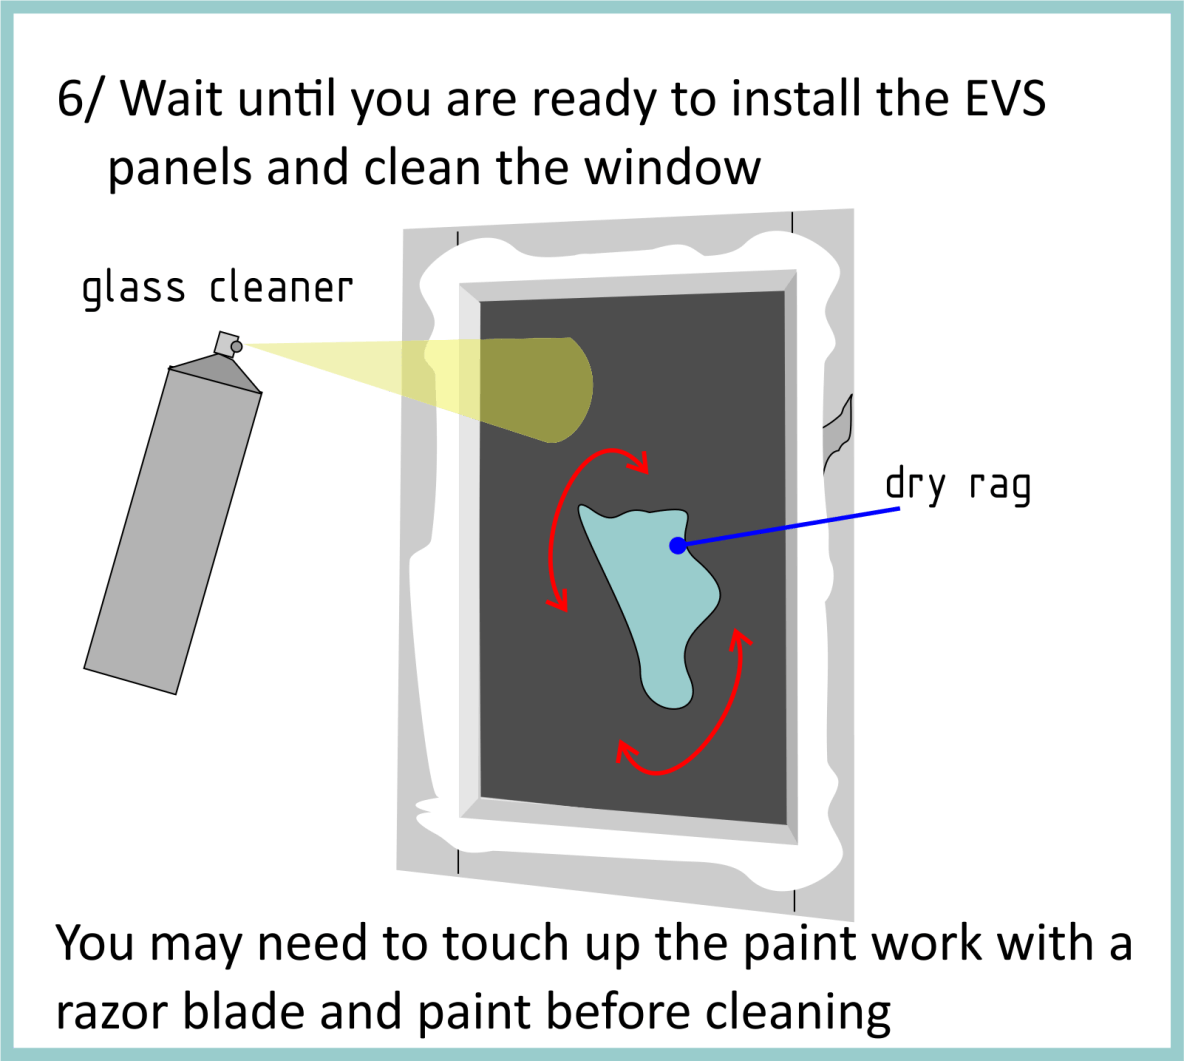
The rest of your windows can be prepared and undercoated ready for top coating after you have installed your EVS panels. You may want to double coat your inside putty edges to ensure a good coat that covers well.
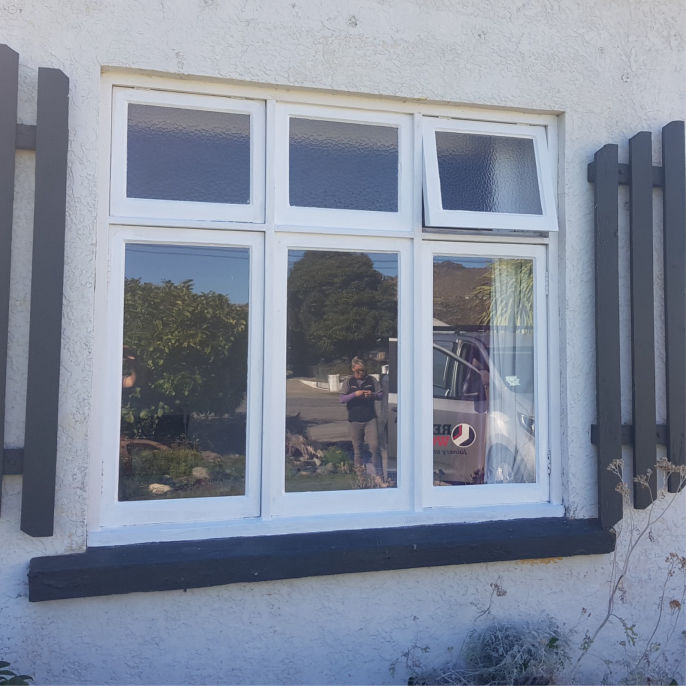
Clean up any messy edges with a razor blade after the paint and silicon has dried. You can also clean the rest of the glass to remove tiny paint spots and silicon that may have landed on the surface. Each panel should have taken no longer than 20-30 minutes to get it ready for EVS glazing.
Phone: +64 (0) 274346912
Email: info@evsglazing.nz
EVS Window Technology Ltd
122 Kaituki Ridge Lane
Queensberry Hills
Central Otago
New Zealand
Email: info@evsglazing.nz
Draught Stop orders Sales@evsdraughtstop.nz
Mobile: +64 (0) 27 4346 912